


How many photos do you have on your phone right now? A few thousand? Maybe tens of thousand? And how many of these digital photos become printed into something tangible?
Whether you get professional photos taken or you are your family’s personal memory keeper, we keep photos of things we want to remember but they can so easily get lost in the abyss that is our camera roll. Think about taking those memories out of the cloud and into your world in a way that you can enjoy them everyday. Printed photos are a great way to add a personal and fun touch to your space that’s also easy to change up. Imagine looking up from your work-from-home setup and seeing a photo of your family during the holidays, your kids smiling with their grandparents, or that gorgeous sunset from your vacation last year.
Step 1: Evaluate your space – where do I want photos?
A blank wall, an empty spot on your desk next to your morning cup of coffee, the space where you dump your keys and the contents of your pockets – find spaces that could use a little extra love. Get an idea of how many photos you’ll need.
Step 2: Choose your photos – what sparks joy?
Maybe you had a newborn session recently or your friend took some particularly flattering photos of you and your pup. Maybe you simply use Portrait mode way too much since you got your new iPhone. These photos don’t have to be perfect or professional. This is your space so fill it with moments from your life. Scroll through your desktop, your camera roll favorites folder, your Instagram feed and look for those gems that make you stop and smile. Put these in a new folder to upload for printing.
Step 3: Make your shopping list – frames or albums?
My favorite place to get frames is from Target. Aside from being affordable, there are a variety of sizes and styles that can suit your needs. If you want multiple frames for unity, you can choose the same color, same style or go eclectic and have a fun mix. There are literally no rules. Are you finding that you chose more photos than your wall and surface space can accommodate? Consider displaying photos together in an album that you can keep on your coffee table. I have done entire albums of just iPhone photos. It’s fun to pull them out every now and then and flip through them with my kids. We talk about the pictures and what happened that day.
Step 4: Hit Print.
Search locally first. Local print shops are awesome and usually a family-own business. You can also check out Mpix for prints or cards. I love their user-friendly site that makes it easy to design custom cards. For printed books that you’ll want to do regularly, I like Chatbooks. You can create and order the book straight from your phone and get a printed book each month with photos from that month. And sometimes I forget. And that’s okay. You can always catch up on months at a later time. Don’t forget to sign up for newsletters for promo codes that you can use to save on printing costs.
Step 5: Some assembly required.
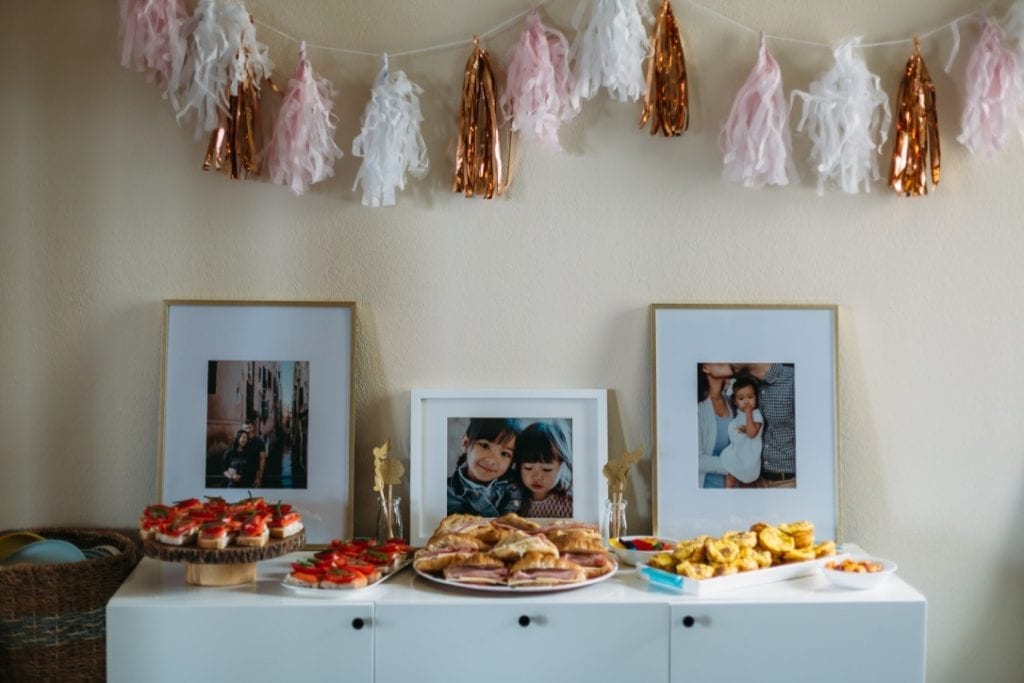
Grab a hammer and some finishing nails and hang your gallery wall. Place your frames in those loved corners of your home. Tuck your albums into your bookshelves and onto your coffee table. Sit back and enjoy the feeling of being surrounded in real life by your favorite memories saved from the digital abyss.
I’m here to help if you are feeling stuck! Contact me today with any questions.


